
Angel Cake
Growing up with Granny baking at home, people are always shocked to find out that as kids, my sisters and I weren’t big cake fans. We’d always have beautiful birthday cakes created by Granny, but we would never have much interest in actually eating them. However, there’s one person who has always been loyal to…
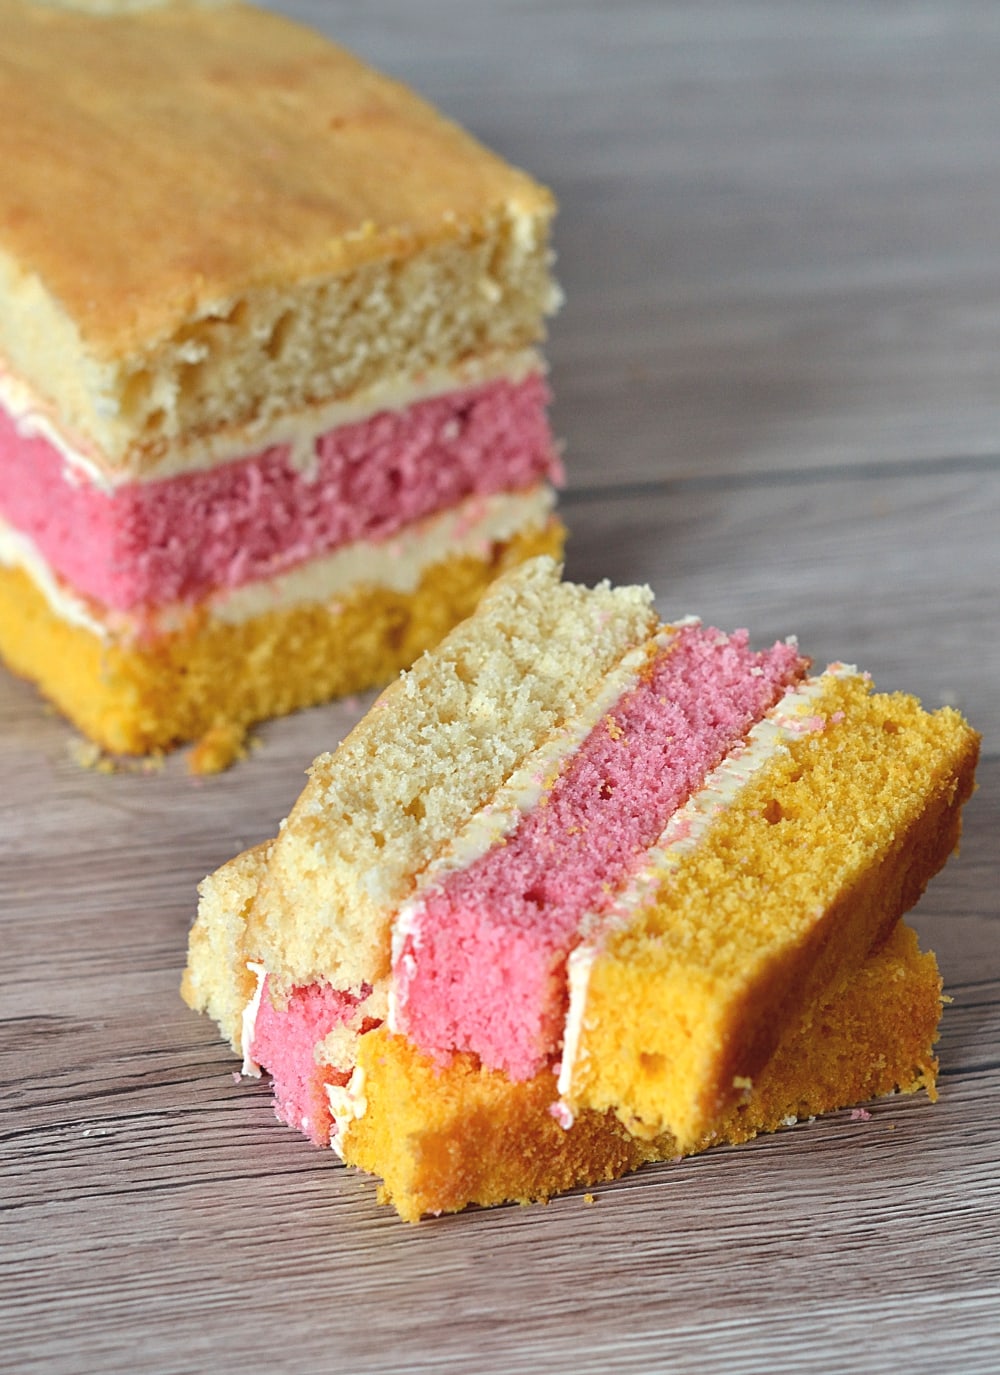
Growing up with Granny baking at home, people are always shocked to find out that as kids, my sisters and I weren’t big cake fans. We’d always have beautiful birthday cakes created by Granny, but we would never have much interest in actually eating them. However, there’s one person who has always been loyal to eating Granny’s cakes – that is Papa. Perhaps that is why the tale of his 40th Birthday Angel Cake is all the more facetious.
It’s a cake that I myself have always enjoyed. Even if I wasn’t too fussed about cake as a whole, I always loved the look of Angel Cake. Layered cakes are somewhat common these days, but this lovely little sponge is the true original. Another lifelong fan of Angel Cake is Papa. But unlike me, he has always been a fan of cake too, being Granny’s dedicated cake-cut-off-consumer for decades!
You would think that such a loyal fan of Granny would also be in receipt of some spectacular birthday cakes, especially when it comes to important birthdays, but our Papa is not a demanding fellow. He’s the kind of guy who just does away in the background, making do with what he’s given. So for his 40th birthday, the one is which Granny opened our door to the gigantic Lorimer family, put on a fantastic spread of finger foods, provided a dizzying amount of alcohol…Papa got a cake…a shop-bought Angel Cake. Gasp! Between all the madness of organising his 40th Birthday Party, Granny hadn’t had a chance to bake Papa a cake, so he got his favourite little cake, bought from Safeways, with a candle on top.
Did he complain? Not once – he was perfectly happy with his little layer Angel Cake.
Did he share?
Well, no, he didn’t do that either, but it was his birthday after all!
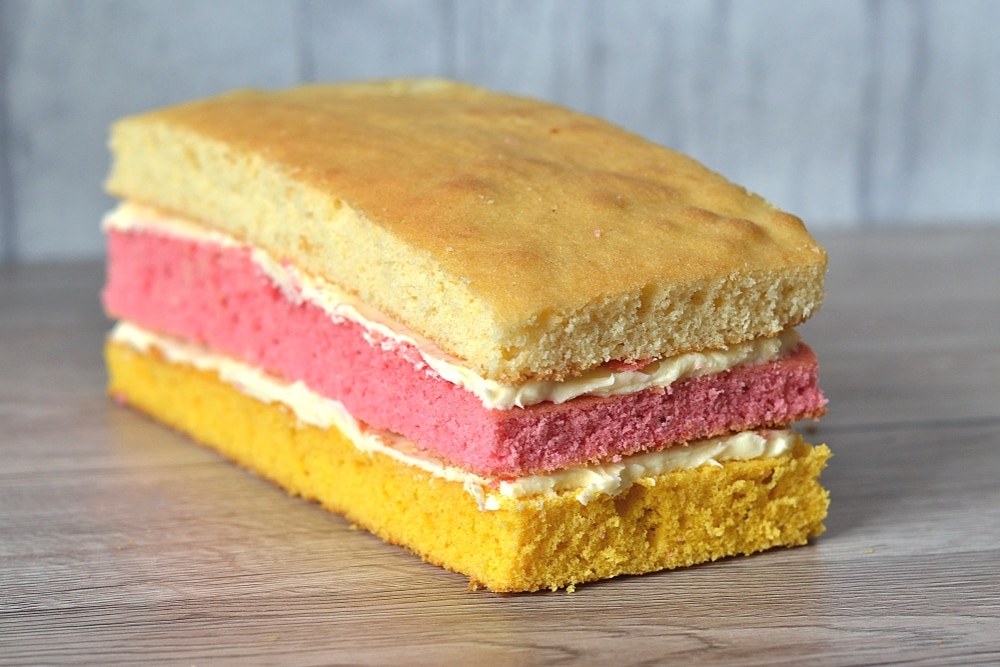
The easiest way to make the layers of Angel Cake is to use three individual loaf tins or a multi-sized cake tin

Angel Cake
Print RecipeINGREDIENTS
For the Cake:
- 150 g Margarine or Butter (softened)
- 150 g Caster Sugar (Superfine Sugar)
- 3 Free-range Eggs (at room temperature – see notes below)
- ½ tsp Vanilla Extract
- 200 g Self-raising Flour
- 1 tsp Baking Powder
- 1 tbsp Milk
- Pink & Yellow Food Colouring
For the Icing:
- 50 g Block Margarine or Butter (at room temperature)
- 110 g Icing Sugar (Powdered Sugar)
- Splash of Milk
INSTRUCTIONS
For the Cake:
- Preheat your oven to 180°c (160°c for fan-assisted ovens, Gas Mark 4 or 350°F). Grease a 30x20cm (12×9 inches) baking tin with a little excess butter/margarine. Take a piece of greaseproof paper around 60x20cm (24×8 inches), fold it in half, measure 5cm in from the fold and create another fold at this point, then open the paper back up – these folds are where your middle sponge will be. Fold a pleat on either side of this middle section (a few centimetres high, around the depth of your tin). Place the greaseproof paper into your tin and fold the excess up the sides of your tin. Set aside.
- In a large bowl, cream the butter/margarine and sugar together until light and fluffy.
- Add the eggs one at a time, mixing until combined before adding the next. Don’t worry if the mixture appears to curdle – this will remedy itself once the flour is added.
- Stir in the vanilla and milk. Sift in the flour and baking powder, and mix until you have a smooth batter.
- Evenly separate the batter into 3 bowls. Leave one bowl plain, and add a small amount of yellow and pink food colouring to the others. Mix until well combined – don’t go too dark with food colouring as the colour will intensify as it bakes.
- Spoon and spread the batter into the individual sections of your prepared cake tin. Bake in your pre-heated oven for 20-25 minutes, until risen and golden in colour, and a skewer inserted comes out clean. Remove from the oven and leave in the tin until cool enough to touch, then remove the cakes from the tin (using the greaseproof liner to help) and place on a wire rack to cool completely.
- Once completely cool, prepare your buttercream.
For the Icing:
- In a bowl, cream the butter/margarine and icing sugar to create a buttercream, adding a little milk to loosen it up to a spreadable consistency, if required.
- Trim the edges of the cakes so they are all an even rectangular size, and trim the top off the yellow and pink sponges so they have a level finish.
- Spread half the buttercream icing on the top of the yellow cake layer, before sandwiching the pink cake layer on top. Spread the remaining buttercream on the pink cake layer, before sandwiching the plain cake layer on top.
IMPORTANT NOTE:
All my recipes are developed using a digital scale and the metric system (grams and millilitres). Cup measurements are available as a conversion but these, unfortunately, won’t always be as accurate. For best results, I always recommend baking with a digital scale.
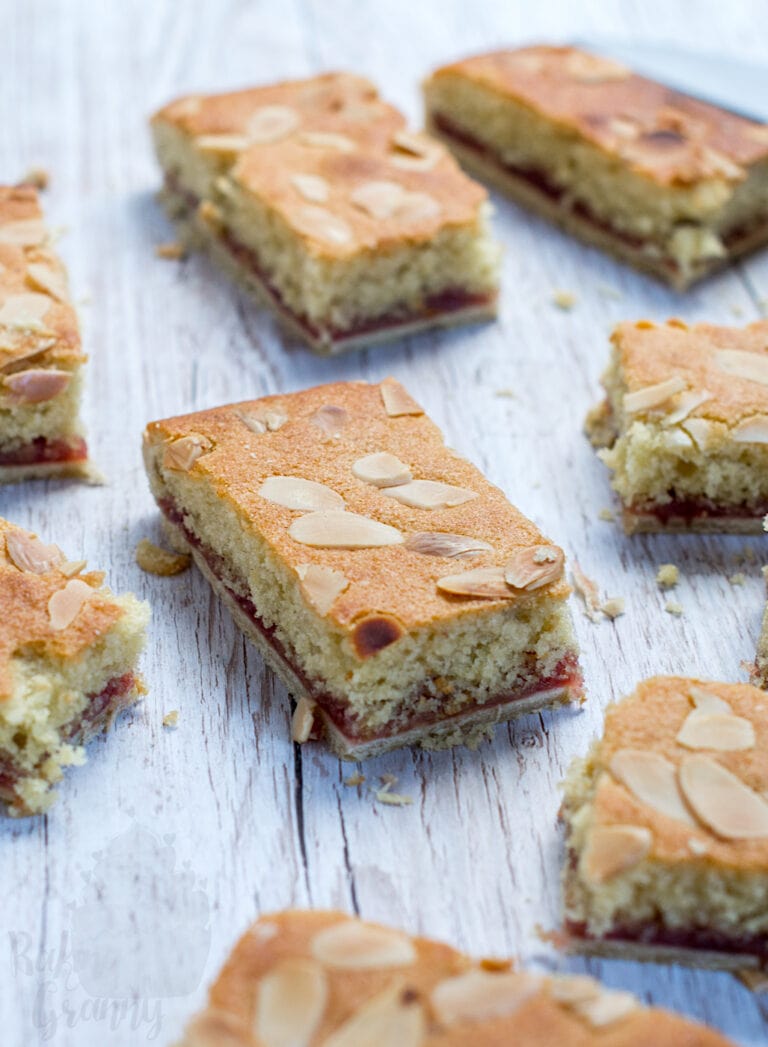


Baked this for my family and friends and it went down a treat! Thank you for this excellent recipe: so simple to bake but also so impressive-looking and tasty! (This cake served approximately 8 people)
Such a pretty cake with beautiful layers
Love the recipes Amy and Granny, saving them all as they come in